Hello dear patrons!! 🌈
Hope this post finds you well, welcome to everyone who joined recently! ✨
Today I wanted to share with you a short step by step of this lil self-portrait I did yesterday right after I came back from buying some groceries to relax a bit and I decided to took some photos in between.
⭐ Here's how the initial sketch looked. I know, it's messy as heck!

⭐ Next step is inking. I used the Uni Pen 0.1 for that and the Pentel pocket brush. My lines are never clean, as you probably noticed! Sometimes it really bothers me that everything I do looks so rough ALL the time. Some other times I just accept that's how my style is and I'm good with it.

⭐ I painted it with Copic Markers, you can see which colors I used bellow, for shadows I went with the BV02. (I'm working on a post where I show you all the Copics I own and which ones I use the most)

Okay so, here's the trick! Whenever I sketch something that doesn't looks super great to me, I take a nice photo and do a little touches on top with Procreate to see if I can make it better and if I can feel more satisfied with the result. Sometimes it works, some other times the drawing is lost forever haha.
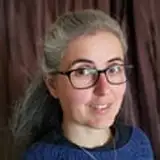
Here's the photo I took:

⭐ I always edit the colors before drawing. If I were working on the computer I would use Photoshop, but since I do these retouches on my Ipad, I use the app VSCO cam for editing, nothing fancy.
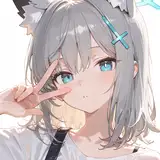
⭐ Once the colors are nicer, I open the photo on Procreate and start adding little details, lines for volume, make the blacks darker in some parts, I add my watermark etc. This is super quick but it adds so much to the drawing! This is how the final image looked and the one I posted on IG last night:

I hope you liked this little walk through my process! Let me know if you have any questions/ things you'd like to see on future posts.
🌈 Thank you so much for your support!! 🌈 seriously, thank you!
Please take care 🧡
Gret